Purpose:
To clean and restore the appearance of a stainless steel ultrasonic cleaner, including removal of water marks, chemical stains, oxidation, and minor surface blemishes without damaging the unit.
Tools & Materials Needed:
- 3M Scotch-Brite™ Ultra Fine or Light Duty Pad (gray or white)
- Clean water
- Mild dish soap or stainless steel-safe cleaner (non-chlorinated)
- Microfiber cloths or soft towels
- Spray bottle (optional)
- Isopropyl alcohol (optional for fingerprint removal)
Step-by-Step Instructions:
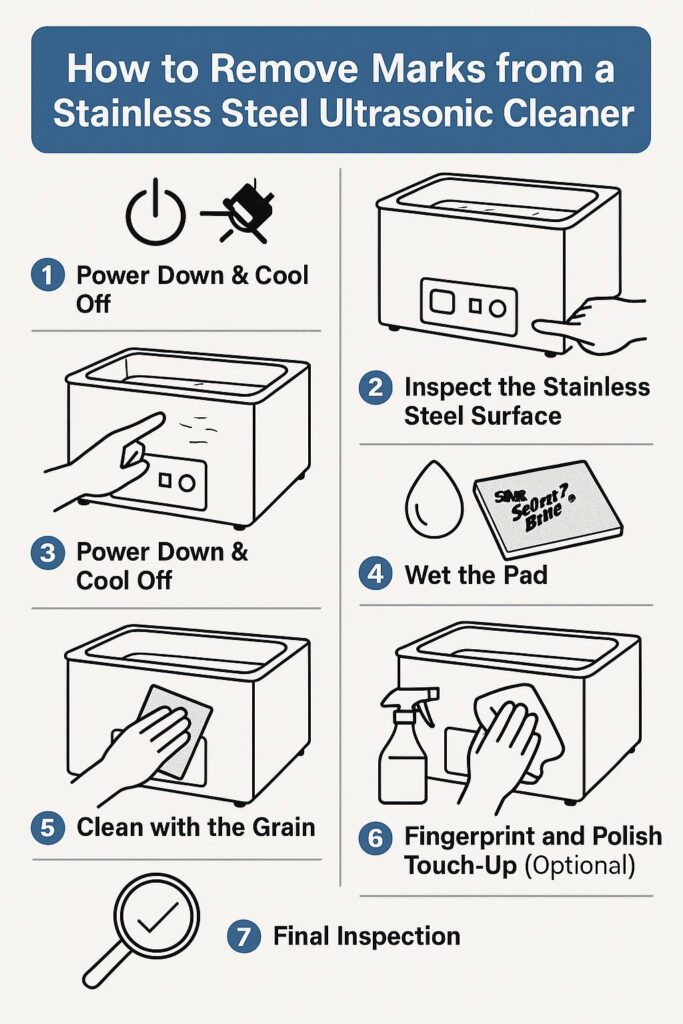
1. Power Down & Cool Off
Ensure the ultrasonic cleaner is powered off, unplugged, and completely cool to the touch before cleaning.
2. Inspect the Stainless Steel Surface
Look for:
- Water deposits or spotting inside the tank
- Chemical splatter, oxidation, or fingerprints on the outer housing
- Buildup at seams, edges, or drain valve areas
3. Wet the Pad
Dampen a 3M Scotch-Brite Ultra Fine or white Light Duty pad with clean water. If needed, add a drop of mild dish soap or apply a stainless-safe cleaner.
4. Clean with the Grain
Gently scrub the marked areas in the direction of the metal grain, applying light to moderate pressure. Avoid circular motion to maintain the brushed finish.
5. For Interior Tank Cleaning
- Focus on mineral deposits or residue lines at the water level.
- Avoid using harsh chemicals or excessive abrasion near transducers or welds.
- Do not submerge or soak the pad; avoid over-saturating near electronics or drain controls.
6. Rinse and Wipe
Wipe the treated area with a clean, damp microfiber cloth to remove any residue. Follow up immediately with a dry towel.
7. Fingerprint and Polish Touch-Up (Optional)
Use a soft cloth dampened with isopropyl alcohol to remove fingerprints or smudges, especially on outer panels.
8. Final Inspection
Check for uniform finish and confirm that all marks, spots, or residue have been removed. Re-treat stubborn areas as needed.